
Sunday, November 28, 2010
Cyber Monday!
We're having one more sale! Take 25% off of your entire order. Just use the code cybermonday at checkout. Happy Shopping!
Thursday, November 25, 2010
Happy Thanksgiving Sale!
 Happy Thanksgiving everyone! Hope you all have a wonderful day filled with family, food and fun! Enjoy 20% off of everything in the shop now through Friday November 26th. Just use the coupon code "Thanksgiving" (no quotes) at checkout.
Adorable turkey hairclip is from Chew Chews Closet
Sunday, October 24, 2010
Is it really almost holiday time?
 I can't believe it, but it really is. Christmas is just 2 months away that means it's time to start shopping now!!! Just posted some new holiday stationery in the shop, check it out!
Happy Shopping!
Saturday, October 9, 2010
New Prints...


Worked hard today and totally neglected my family but I got some new prints up in the shop! Yay! So exciting! The flashcard prints are actually old but I'm just getting around to posting them.
Happy Saturday!
Friday, October 8, 2010
Coming Soon...Pocket Flash Cards!


They've been in the works for a while but I figured I'd better get them out in time for the holidays. Our pocket flash cards measure 2.5"x3.5" they are great to laminate and take with you or hang in a childs room....they look especially cute hung on a string with a mini clothespin. They will be up in our shop in a few days!!!


Tuesday, October 5, 2010
Cake Pops...Yum!

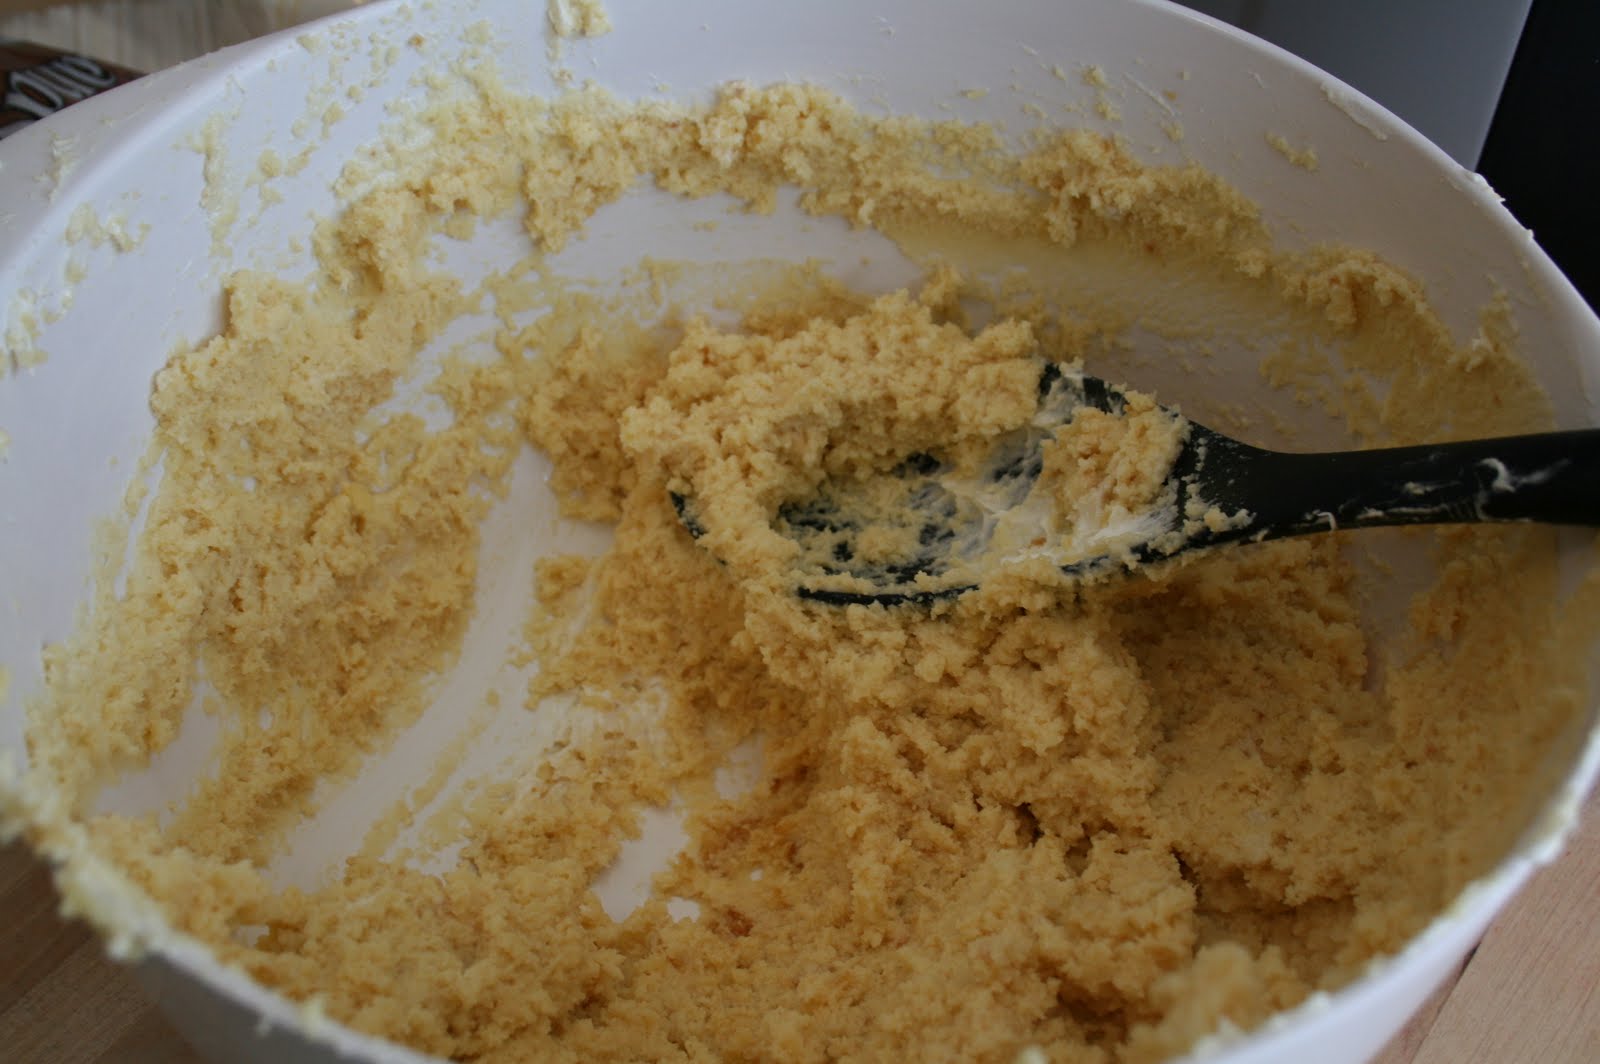


Since cake pops are all the rage I thought I'd give them a try. I found them quite easy to make, just give yourself some time...not a quick baking project. Boy were they delicious though!
You'll need...
1 boxed cake mix (or you can make it from scratch!
1 can of frosting
1 can of frosting
melting chocolate (I used Wilton chocolate and vanilla)
wax paper
lollipop sticks
sprinkles
How to...
1.Bake the cake according to directions on box (or recipe)
2.Once the cake is cooled completely crumble in a large bowl
3. Mix in the can of frosting really good...I didn't quite use the whole can
4. Roll the cake into balls
5. Place the balls onto a cookie sheet or plate covered with wax paper. Place in the freezer for 20 minutes or until firm (you don't want them to freeze) then keep them in the fridge until you are ready to work with them.
6. Melt the chocolate according to directions
7. Dip one end of a lollipop stick in the melted chocolate and insert it into the cake ball, let dry for a couple minutes
8. Roll the cake ball into the melted chocolate and decorate with sprinkles
9. Let harden for a bit
10. Enjoy!!!
Monday, October 4, 2010
Yee Haw!
Hi Ya'll! Since our trip to Arizona over the summer, my 2 and a half year old son has been really interested in cowboys, saguaros and the desert. (I'm sure Woody from Toy Story has something to do with it too!) I thought it would be fun to search Etsy for some cute cowboy inspired kid stuff!


1. Yippee Cowboy and Cowgirl Bib Set by Babiease
1. Yippee Cowboy and Cowgirl Bib Set by Babiease
Friday, October 1, 2010
Etsy Loves...Birds!
How cute are these bird themed items found on Etsy?


Fall Brights Bird Mobile and CHLOE vintage inspired apron
xo
Melissa


Fall Brights Bird Mobile and CHLOE vintage inspired apron
xo
Melissa
Martha Stewart Halloween

As usual Martha Stewart has come up with something adorable for kids Halloween parties! These treat bags seem really easy to make and look fabulous on the table, just add candy!
Flyaway Favors How-To
Tools and Materials
Two 4 1/4-by-8-inch brown paper bags
Craft knife or scissors
Small branch
Candy
1. Unfold one brown bag and push out base; fold in the left and right sides.
2. Use a craft knife or scissors and cut the bag into thin strips about 1/4 inch wide. Make sure you stop short of the base.
3. Cut thin strips into the top, 1 1/2 inches of second brown bag. Fill the bag with candy
4. Open the shredded bag fully, laying it flat; place the filled candy bag inside the shredded bag.
5. Bring shredded bag up; cinch top of bags together. Wrap with black wax twine until bags are secure.
Read more at Marthastewart.com: Flyaway Favor Bag - Martha Stewart Crafts
Mummy Treat Bag How-To
Tools and Materials
White lunch bag
Craft knife
Googly eyes
Cellophane bag
Double-sided tape
Candy
1. Push out base and/or bottom of white lunch bag while folding in the left and right sides.
2. Use a craft knife to randomly make slits in bag.
3. Fold the top of the bag about 1 inch.
4. Place one googly eye slightly underneath flap.
5. Fill cellophane bag with candy and tape close; then place cellophane bag inside white lunch bag.
6. Fold top over and secure with double-sided tape.
Read more at Marthastewart.com: Flyaway Favor Bag - Martha Stewart Crafts
Pumpkin Treat Bag How-To
Tools and Materials
Orange mini craft bag
Craft knife
Floral tape
Candy
1. Fill orange mini craft bag with candy.
2. Cinch and twist top of bag together to form stem; you can trim off 1/2 inch of bag for your desired length.
3. Cut off a piece of floral tape and stretch it so it becomes sticky.
4. Wrap floral tape around stem. Start at the top and move downward. Rip off tape; leave 3 to 4 extra inches hanging on the bottom.
5. Twist extra tape into a tendril and wrap it around finger until it curls.
Resources
The orange mini craft bags can be found at Martha Stewart Crafts.
Read more at Marthastewart.com: Flyaway Favor Bag - Martha Stewart Crafts
photo and tutorials: www.marthastewart.com/halloween
Twitter!
Ok so we're finally part of the modern world...we now have a Twitter account! Be sure to follow us, I'll try to think of exciting things to post :)
www.twitter.com/mintbuttercup
xo
Melissa
www.twitter.com/mintbuttercup
xo
Melissa
Thursday, September 30, 2010
25% off our Popsicle Print!!!!

Get 25% off of our popular Popsicle print! Just convo us through Etsy and we'll set up a reserved listing for you. Now through Friday October 1st!
Check out the Popsicles here!
xoxo
Wednesday, September 29, 2010
Mint Weddings!!!

At least once a week I have someone ask me for wedding invitations. My answer is always "Sorry, not at this time." I finally decided why not? So I opened up Mint Weddings It's going to take me a couple of weeks to stock the shop so keep checking back!
xoxo
Melissa
Monday, June 7, 2010
We have a winner!!!
Thanks so much to all who entered our giveaway! We are proud to announce that our winner is...
Robin over at Nothinglikeit!
Robin was chosen using Random.org. Enjoy your prints Robin! Stay tuned for more giveaways!
Robin over at Nothinglikeit!
Robin was chosen using Random.org. Enjoy your prints Robin! Stay tuned for more giveaways!
Saturday, May 29, 2010
Sunny Kitchen Giveaway!


I have been so lucky to have sold so many sets of my Sunny Kitchen 8x10 prints. So far they have been my best selling item! To say thank you I am giving away a set (set includes 3 8x10 prints 1 silverware, 1 teapot, 1 mixer - retail price $30). To enter, just comment on this post by 10pm pst on Sunday June 6th. I'll announce the winner here on Monday June 7th. Don't forget to leave your email address so I can contact you if you're the lucky winner!
Good luck :)
xoxo
for more info check out the prints here
New 8x10 Prints!

Just posted tons of new 8x10 prints in the shop! So excited! Be sure to keep checking back tons more to come :)
Monday, April 26, 2010
Caramel Apples Yum!!!


We are Disneyland obsessed over here. Lately I have had my eye on the adorable carmel apples they sell in the park's many sweet shops. I keep thinking how cute they would be at a birthday party...but they come with an $8.95 price tag, ouch! How hard would it be to make them? It looks like they cover the apples in caramel and chocolate, roll them in colored sugar or sprinkles and adorn them with candy dots or jelly beans. Top them off with chocolate covered marshmallow mouse ears and Voila!
Yum!
Thursday, April 22, 2010
Open for business!

Our Etsy shop is officially open with just a few items to start. Many more to come... We've already had an Etsy order and we have a wholesale order in the works! I'd say that's a successful start! Thanks for all the support!
xoxo
MB
Friday, January 22, 2010

Subscribe to:
Posts (Atom)